How to Replace the Nozzle of your 3D Printer
Why Replace the Nozzle?
Nozzles are replaced for several reasons. The first reason you need to change the nozzle on your 3D printer is because the old one is damaged. A bad nozzle can result in poor print quality, tension problems, and inaccurate dimensional precision.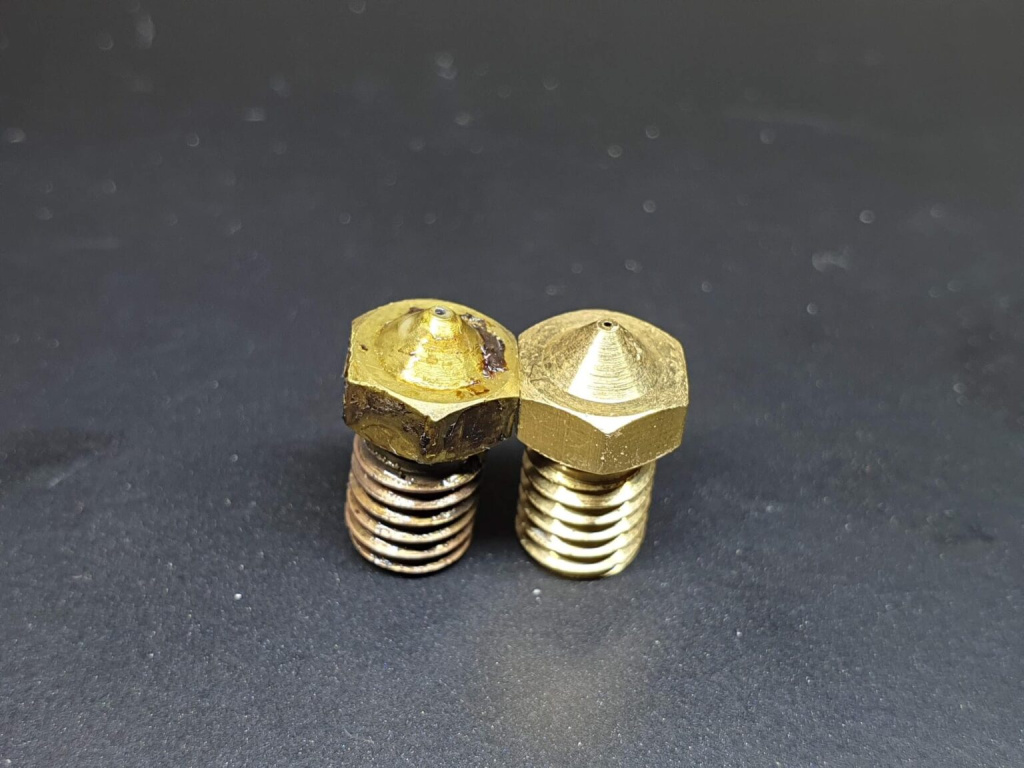
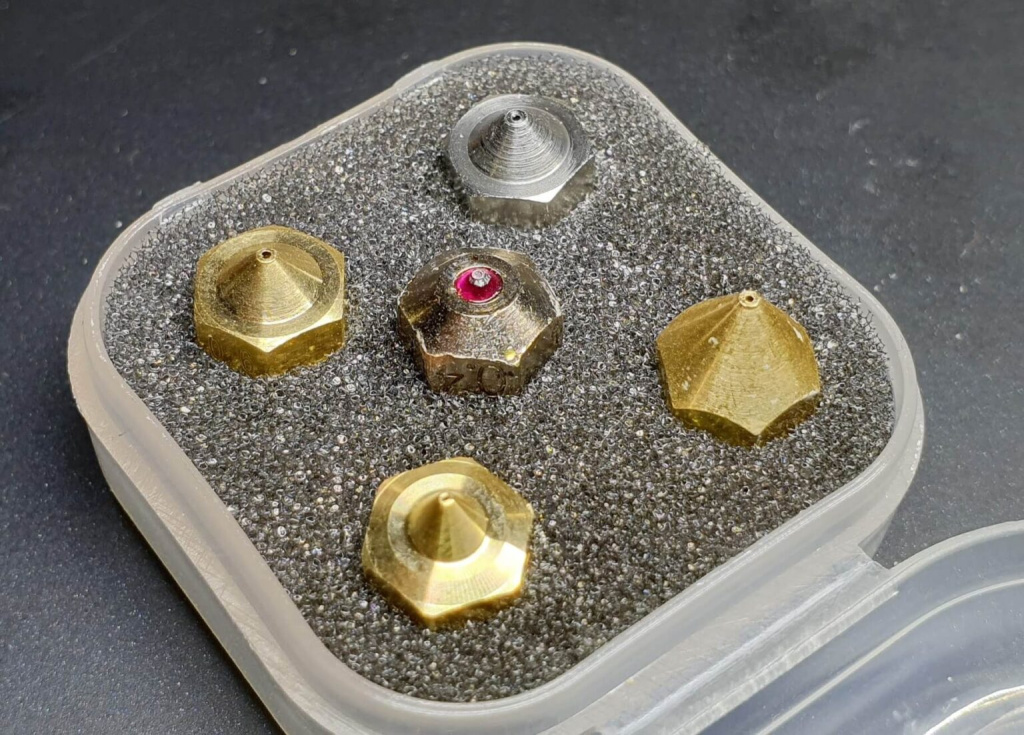
Another reason to replace the 3D printer nozzle is when you want to print faster. A larger nozzle allows you to reduce print time without need to increase print speed. The most common nozzle size is 0.4 mm, but for faster printing, it’s better to use a 0.6 mm or 0.8 mm nozzle. This results in wider extrusion and thicker layer height.
By using a smaller nozzle (0.3 mm or 0.2 mm), you can improve the final model's quality by using a smaller layer height. While this can enhance the quality, it will increase print time.
Replace the 3D Printer Nozzle and Fix Leaking Issues
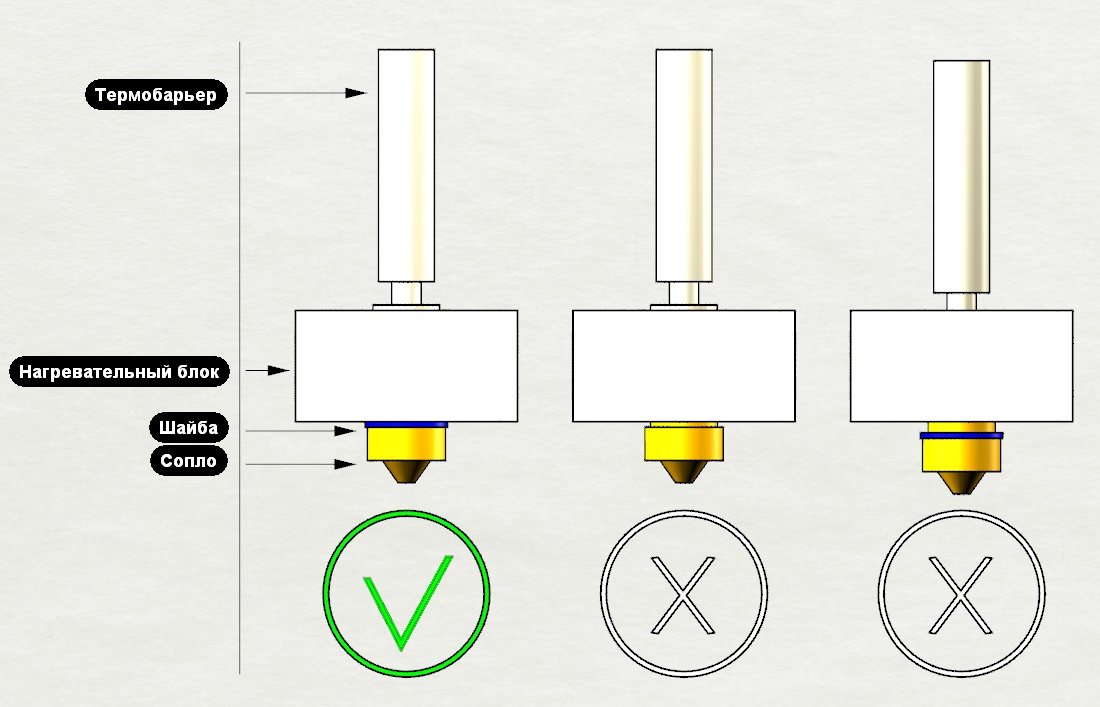
Replacing the nozzle on your 3D printer can be a tricky task, especially for beginners in 3D printing. If the nozzle isn’t tightened properly into the heat break, it can lead to leaks. Changing nozzles at room temperature can also cause issues, as the metal in the hotend expands when heated, loosening the nozzle. This creates a gap between the nozzle and the heat break, allowing molten filament to leak through the threads. Clogs will form, and you’ll need to disassemble the entire hotend assembly to clean it up.
By carefully following this guide, you’ll learn how to properly replace your 3D printer nozzle and avoid leakage caused by improper tightening.
Due to improper nozzle replacement, I managed to damage the threads of the heat break on my NF Crazy Hotend. By applying too much force while tightening the nozzle, the threads were stripped, and filament began leaking from the hotend.
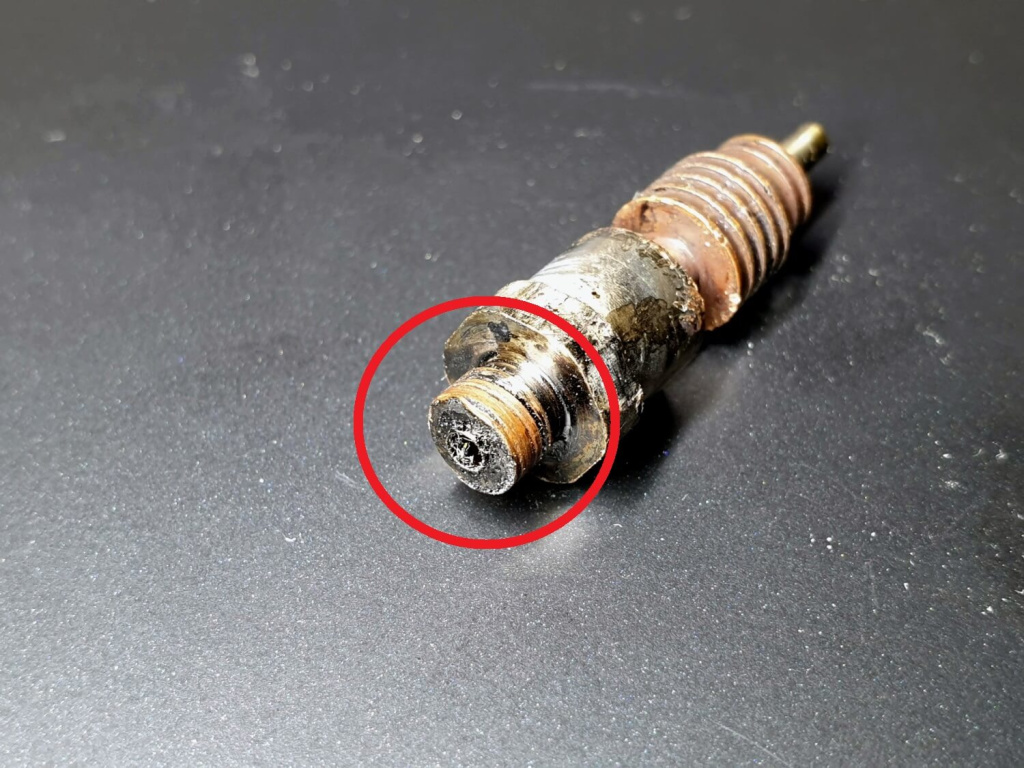
I can resolve this issue by replacing the heat break, but from now on, I'll use a torque wrench whenever I replace the nozzle on my 3D printer to ensure it's tightened correctly and to avoid any future damage.
Preparation
To properly replace the nozzle on your 3D printer, you'll need to have a few tools ready:
- A wrench or pliers to hold the heat block.
- A socket wrench for the nozzle.
- Heat-resistant gloves to protect your hands.
- A torque wrench (optional, but recommended).
Please note, when following this guide for nozzle replacement, it's crucial to be cautious. You're dealing with hot components, and there’s a risk of burns. Avoid touching the nozzle and heat block during the process to prevent injuries. Be sure to read the entire guide before starting.
Using a Torque Wrench for Nozzle Replacement
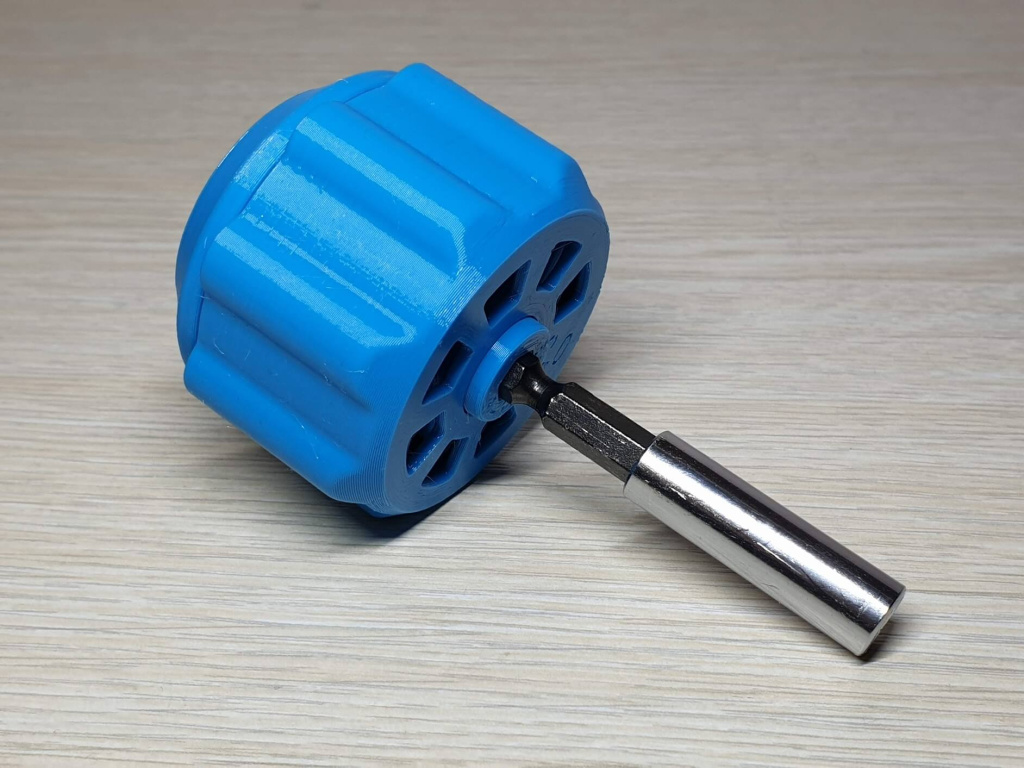
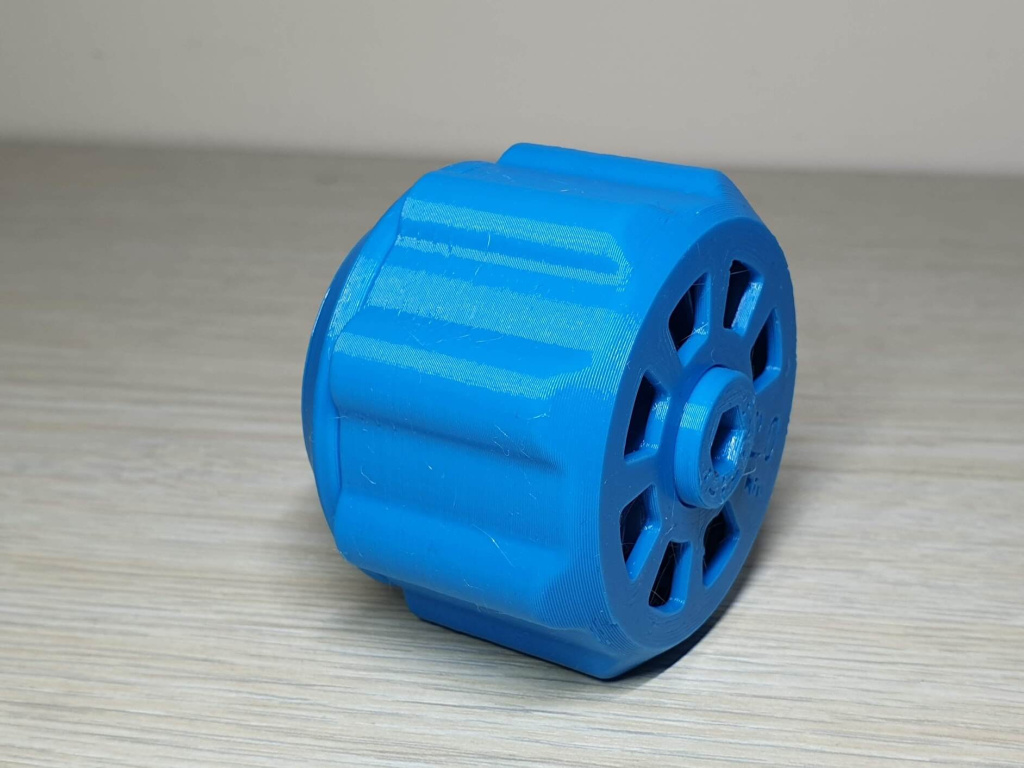
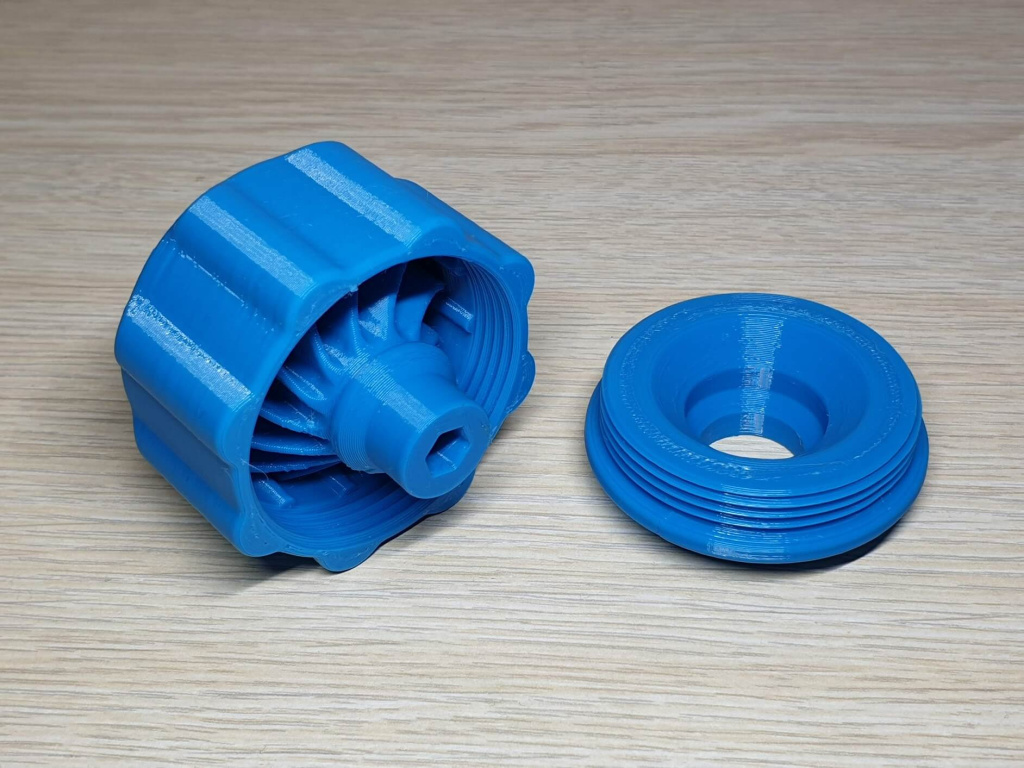
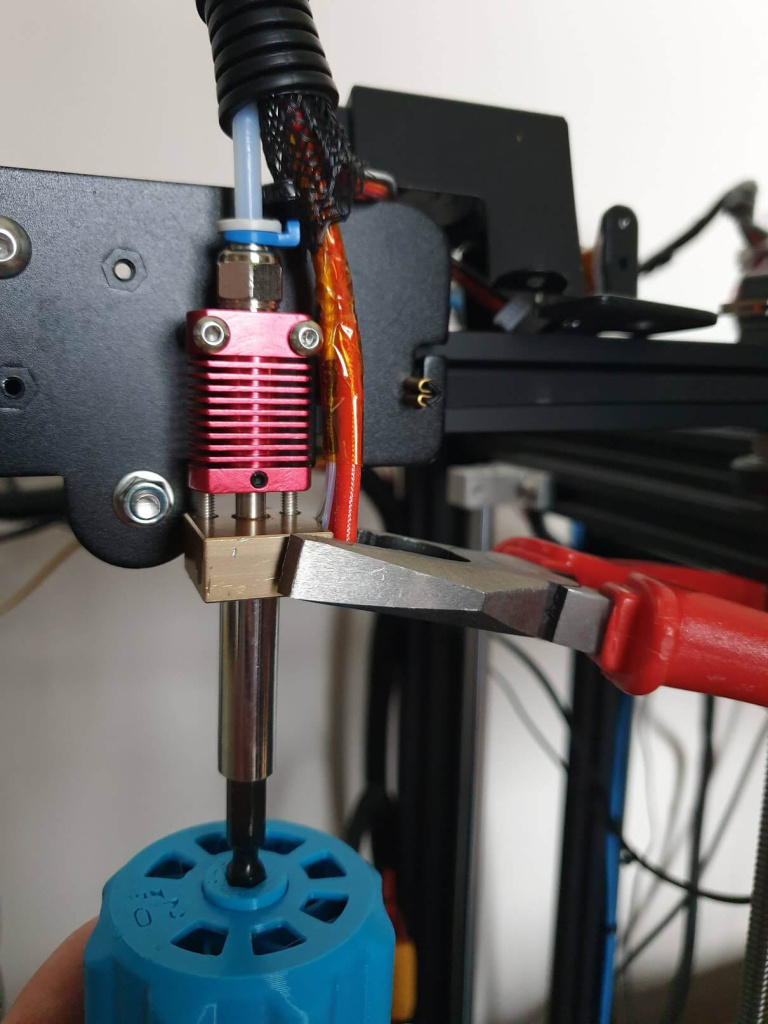
To make nozzle changes easier on my printer, I printed this torque wrench from Prusa Printers (2 Nm version) in Blue EasyPETG from Fiberlogy. I highly recommend using a torque wrench for the best results.
Slice Engineering suggests using a 1.5 Nm torque wrench for tightening the nozzle on the Mosquito Hotend. E3D recommends tightening the nozzle with a 3 Nm wrench. I used a 2 Nm wrench, and it worked well for both setups.
How to Replace Your 3D Printer Nozzle?
To properly replace the nozzle on your 3D printer, follow these steps:
Heat the Hotend to Maximum Temperature
Start by heating the hotend to its maximum temperature. When replacing the 3D printer nozzle, it's important to do so with the hot block heated to the maximum temperature allowed by your printer. For hotends with a PTFE tube, the maximum temperature is typically around 270°C.
While any temperature above 240°C can potentially damage the PTFE tube over time, the brief exposure during the nozzle replacement shouldn’t cause significant harm. If your hotend has a silicone sock, be sure to remove it before heating the hotend.
Remove the Filament
When the hotend reaches a temperature of 130°C for PLA or 150°C for PETG, quickly pull out the filament to prevent clogging. While this isn’t a full cold pull, it will help remove most of the filament, making the nozzle replacement process easier.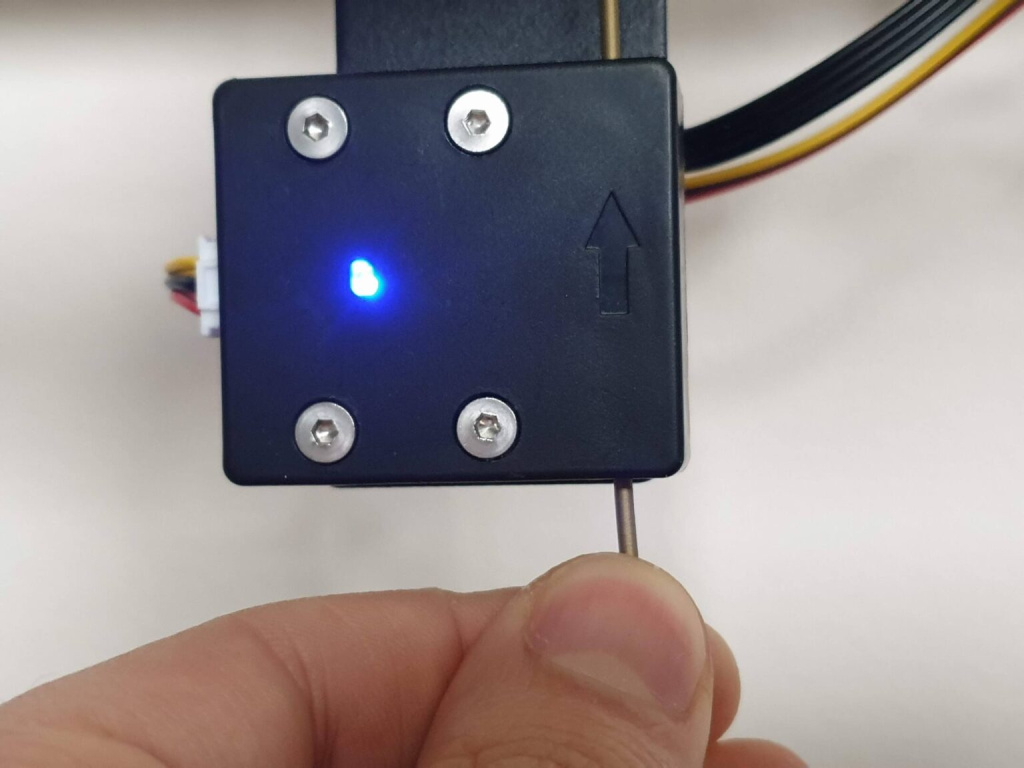
Unscrewing the Old Nozzle
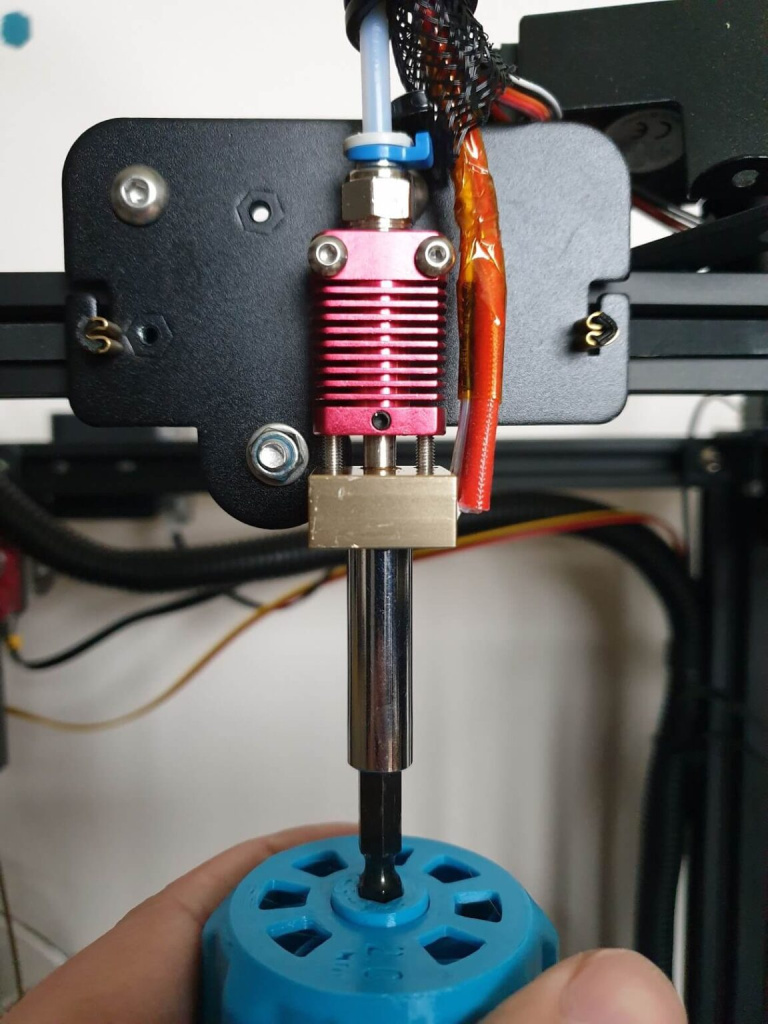
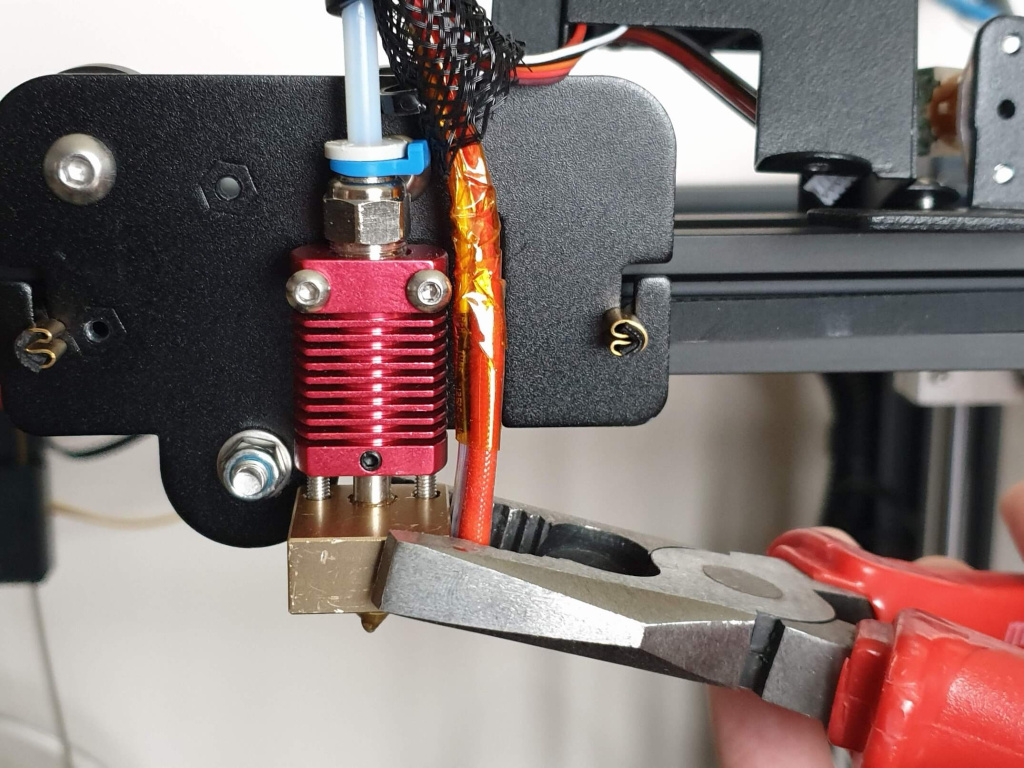
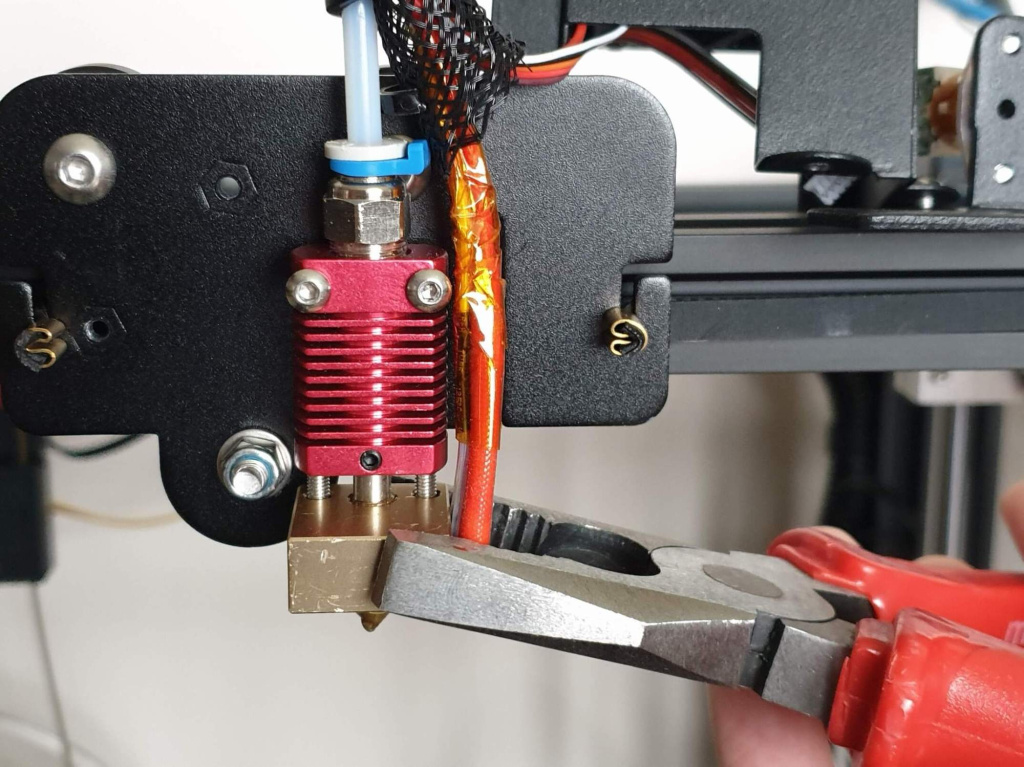
Now that the hotend is heated to the maximum temperature, you can proceed with the nozzle replacement. Use a wrench or pliers to hold the heater block in place. Be careful to grip the heater block while avoiding the heater cartridge and thermistor. With your other hand, begin unscrewing the old nozzle gently.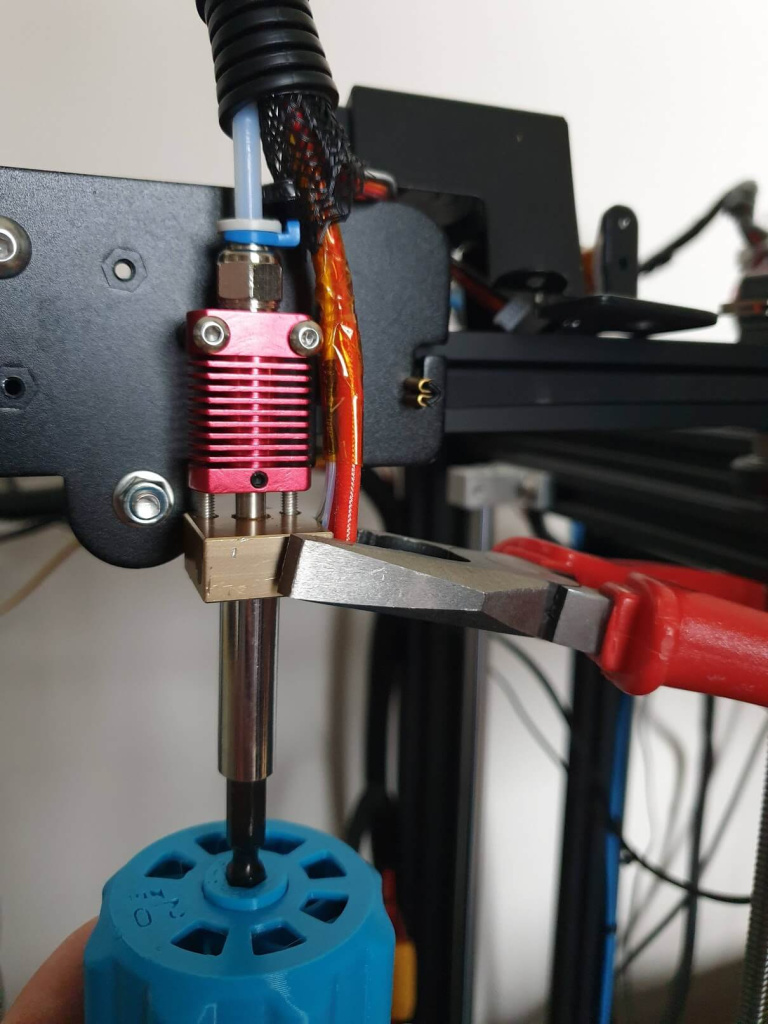
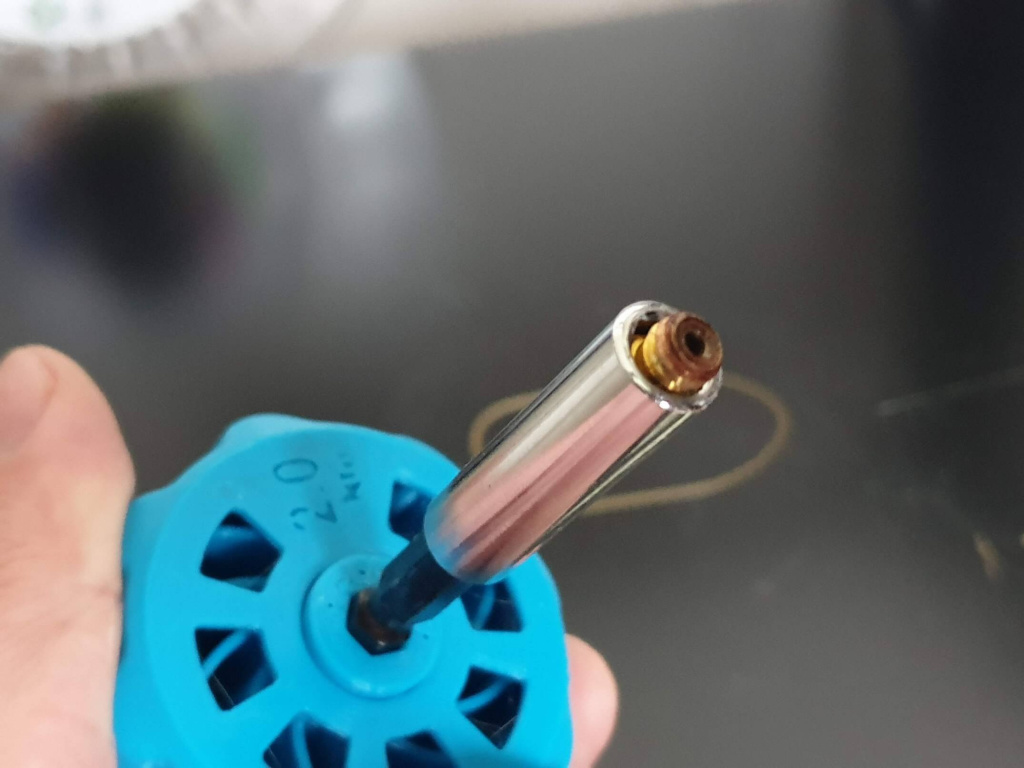
Installing the New Nozzle
If you're wearing gloves, you can start tightening the nozzle by hand and then use a socket or torque wrench for additional tightening. If you're not wearing gloves, place the nozzle in the socket wrench and screw it into the heater block. Once the nozzle is securely in place, give it a slight extra turn. However, be careful not to overtighten, as this could strip the threads and damage the nozzle and/or heater block. If you're using the recommended torque wrench, the nozzle is properly tightened when you hear a click from the tool.
Conclusion
Congratulations! You have successfully replaced the nozzle on your 3D printer and are now ready to continue your 3D printing projects.- Комментарии
