Deformation During 3D Printing: 10 Simple Solutions for PLA, PETG & ABS

What Is It?
When a part of the printed object begins to curl upwards, the result is a distorted model. This issue arises from excessive temperature differences between layers of extruded plastic, which creates stress within the model. When this stress becomes too great, the lower layers start to stretch or lift, leading to deformation.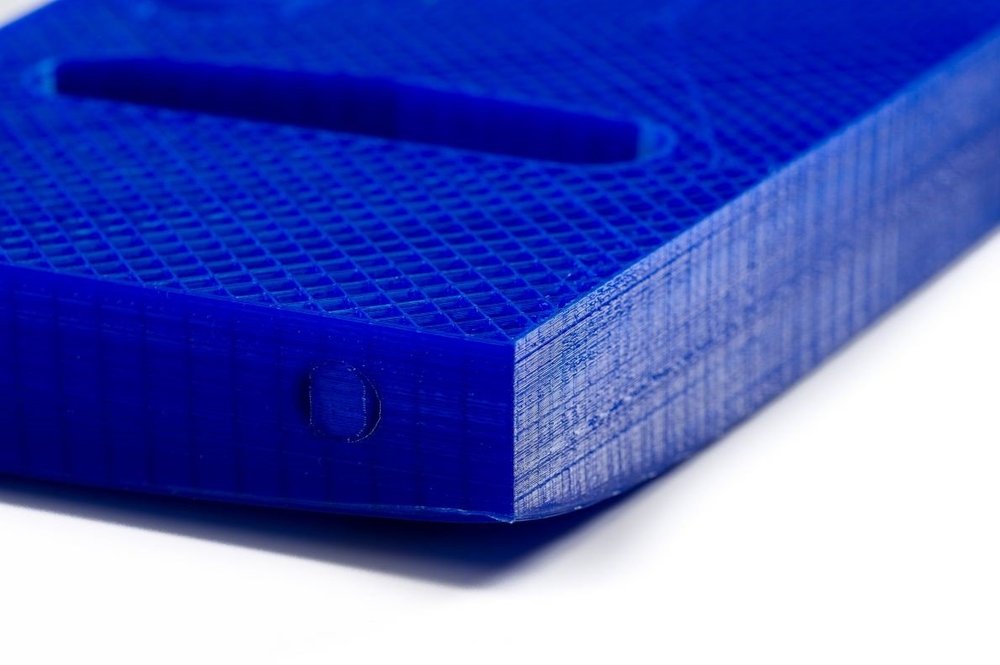
Why Does It Happen?
The filaments used in FDM 3D printing are typically materials that change their properties at certain temperature ranges. During 3D printing, we heat the filament to a temperature exceeding its melting point, allowing it to be extruded onto the print bed in a liquid form.
As the filament heats up, it not only becomes liquid but also expands. When it cools down and solidifies, it contracts again. This transformation creates some shift in the extruded plastics, which is the root cause of deformation: cold layers pull on hot layers. If this occurs when hot layers are positioned below cold layers, the model deforms on the print bed.
What makes matters worse is that the issue can arise after a significant portion of the print job has been completed, ruining an otherwise perfect print!
If we could maintain the entire model at the same temperature all the time, even a tiny part of it wouldn’t deform. However, this is practically impossible. What we can do is try to keep the temperature of the 3D model as uniform as possible. We can also do everything we can to ensure the model stays attached to the print bed. This article outlines several tips to help you avoid model distortion:
- Use a Heated Print Bed: This helps maintain a consistent temperature throughout the model. A heated print bed also promotes adhesion to its surface. Typically, the filament manufacturer specifies the recommended print bed temperature on the packaging.
- Utilize Printers with Enclosed Chambers: These are easier to maintain at a constant temperature across the model during the entire printing process. If your 3D printer lacks an enclosure around the print bed, check out our article on how to build your own chamber.
- Control the Room Temperature: This can be done by closing windows and doors (just remember you’ll need separate ventilation). Avoid letting cold air in during printing.
- Adjust Cooling: This can be tricky, as you need to cool the filament for better layer adhesion, less stringing, and to ensure the melted plastic solidifies quickly enough to build accurate geometry. However, turning off or reducing the speed of cooling fans directed at the print, at least for the first few layers, can help sufficiently equalize temperatures to keep your model flat on the bed.
Use Adhesives
Hair Spray: This helps create sufficient adhesion for most filaments. You can also use specialized 3D printing sprays, such as 3DLac. As always, start with a small amount to ensure the model doesn’t stick to the bed so much that it could be damaged during removal.
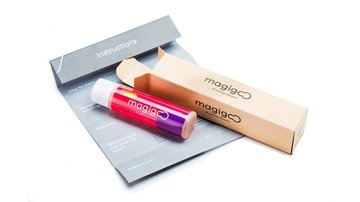
PVA Glue Stick: You can also purchase special adhesives designed for sticking to the print bed, such as Megigoo 3D Printer Bed Adhesion. These adhesives bond PLA and other types of filaments to the surface. When using PVA glue, simply apply a thin, even layer to the build area. The same principle applies to other products. Keep in mind that with some solutions, the model may stick so strongly to the print bed that it can damage the base when removed.

Modify Your Slicer Settings
Print Slower: You’ll be surprised how often reducing the print speed can solve tricky problems like warping and curling. Don’t forget to lower the nozzle temperature accordingly.
Create a Brim or Skirt in Your Slicer: One or several extra contour layers printed with zero offset from your model will widen its base, improving adhesion to the print surface.
Add a Raft: This will increase the base of your model, enhancing its grip on the platform. At the end of the print, the raft should detach easily from the model.
Add “Mouse Ears”: In other words, small disks a few layers high that should be placed under your model to improve surface adhesion at the corners. Position the disks on the build surface in your slicer so they barely touch each corner of the model. They should be easy to remove after printing is complete. You can download ready-made Mouse Ears from Tugeagon on Thingiverse or use CAD software like Rhino 3D to design them yourself.
- Комментарии