Improving Adhesion with Adhesive Aids
Many 3D printing enthusiasts face issues with insufficient adhesion of the first layers of their model to the print bed. Simply put, the edges of the model lift off the surface, often leading to warping or distortion. This problem can easily ruin a print.
If you’re reading this, you probably have difficulty printing on glass or mirrored surfaces and need an adhesive or coating to enhance adhesion. This is not the worst thing that can happen, as there are many options to fix this issue. Some people use hairspray, while others recommend using PVA or PVAc glue sticks. There are even those (including myself) who dare to print directly on glass without any adhesive, but that’s not always reliable. I’ve had many failed prints due to poor adhesion of the first layer to the print bed, so I decided to experiment with various options to improve adhesion.
Devil Design Adhesive Coating
Physical Properties of the Product:
| Bottle Dimensions | 36 x 36 x 167 mm |
| State | Liquid |
| Consistency | Sticky and viscous |
| Scent | Vanilla |
| Washable with Water | Yes |
| Color |
Colorless |
| Volume | 110 ml |
| Applicable on Surfaces | Glass, Aluminum |
| Packaging | 36 pcs/pack |
| Packaging Dimensions | 285х170х170 mm |
Printing Parameters:
- ABS: 90-100°C
- ASA: 90-100°C
- HIPS: 90-100°C
- PLA: 50-60°C
- PET-G: 70-80°C
- TPU: 20-80°C
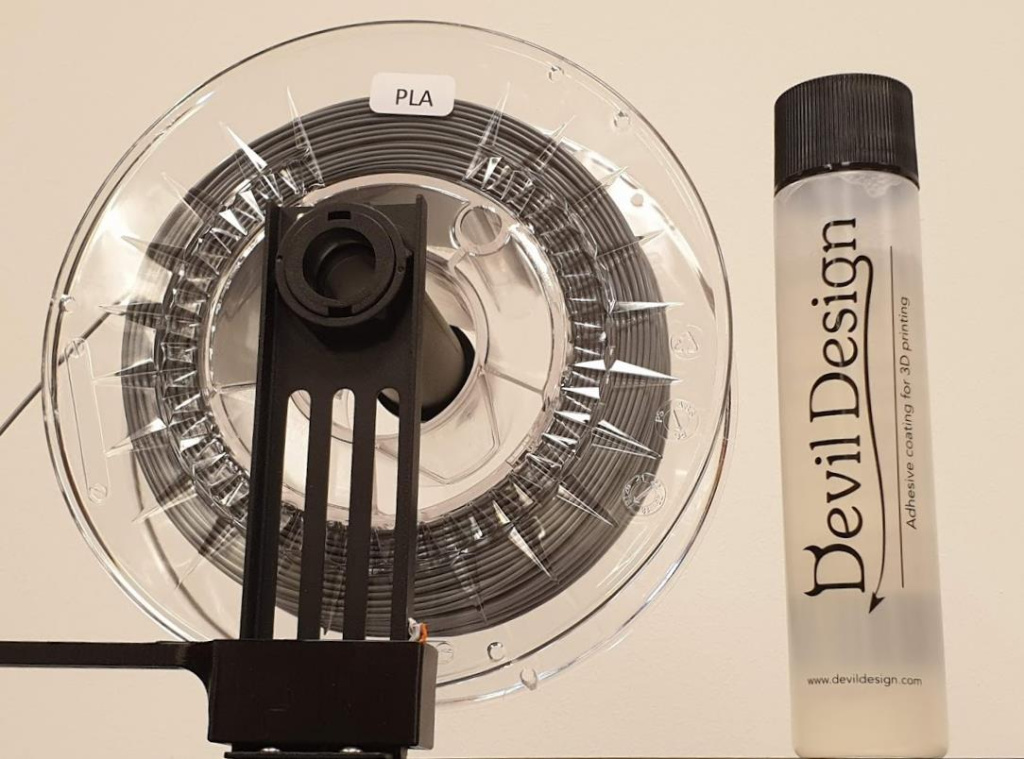
I don't know what magic potion is in it, but it works very well. The bottle contains 110 ml of adhesive coating, which should last a long time, and it comes with a convenient applicator. It's also worth noting that the coating has a pleasant vanilla scent. Considering that the price is around €8, it's definitely worth it.
How to Apply Devil Design Adhesive Coating
First, you need to thoroughly clean the glass/mirror print bed. I usually apply a bit of window cleaner to ensure the surface is free from stains and streaks.
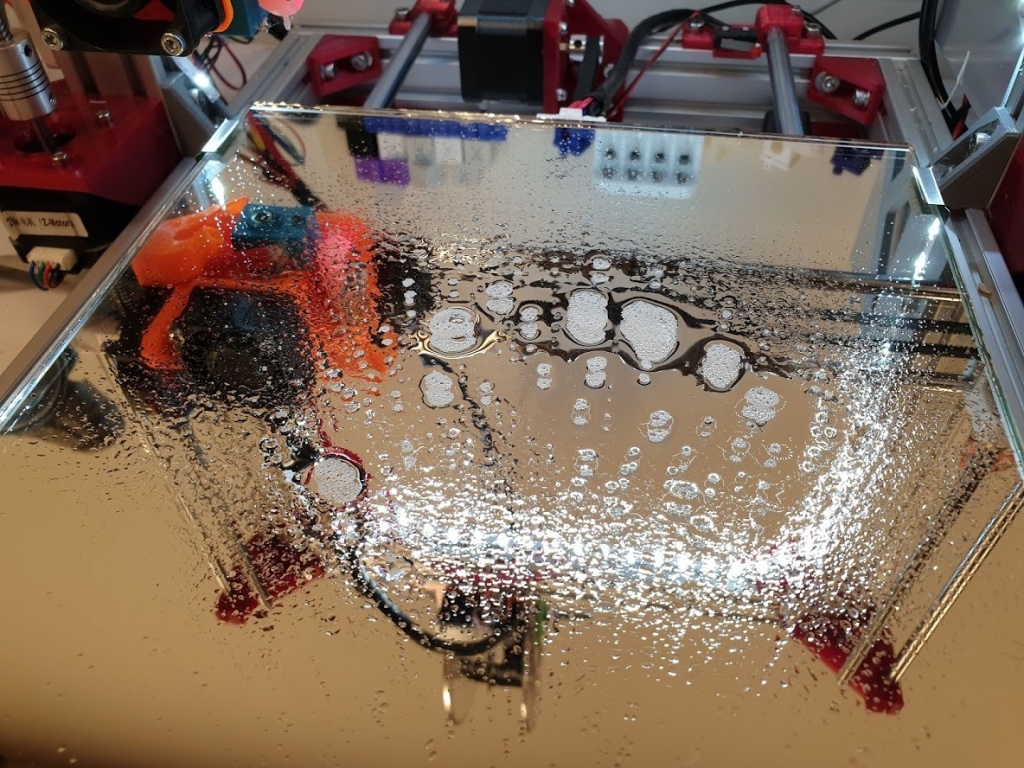
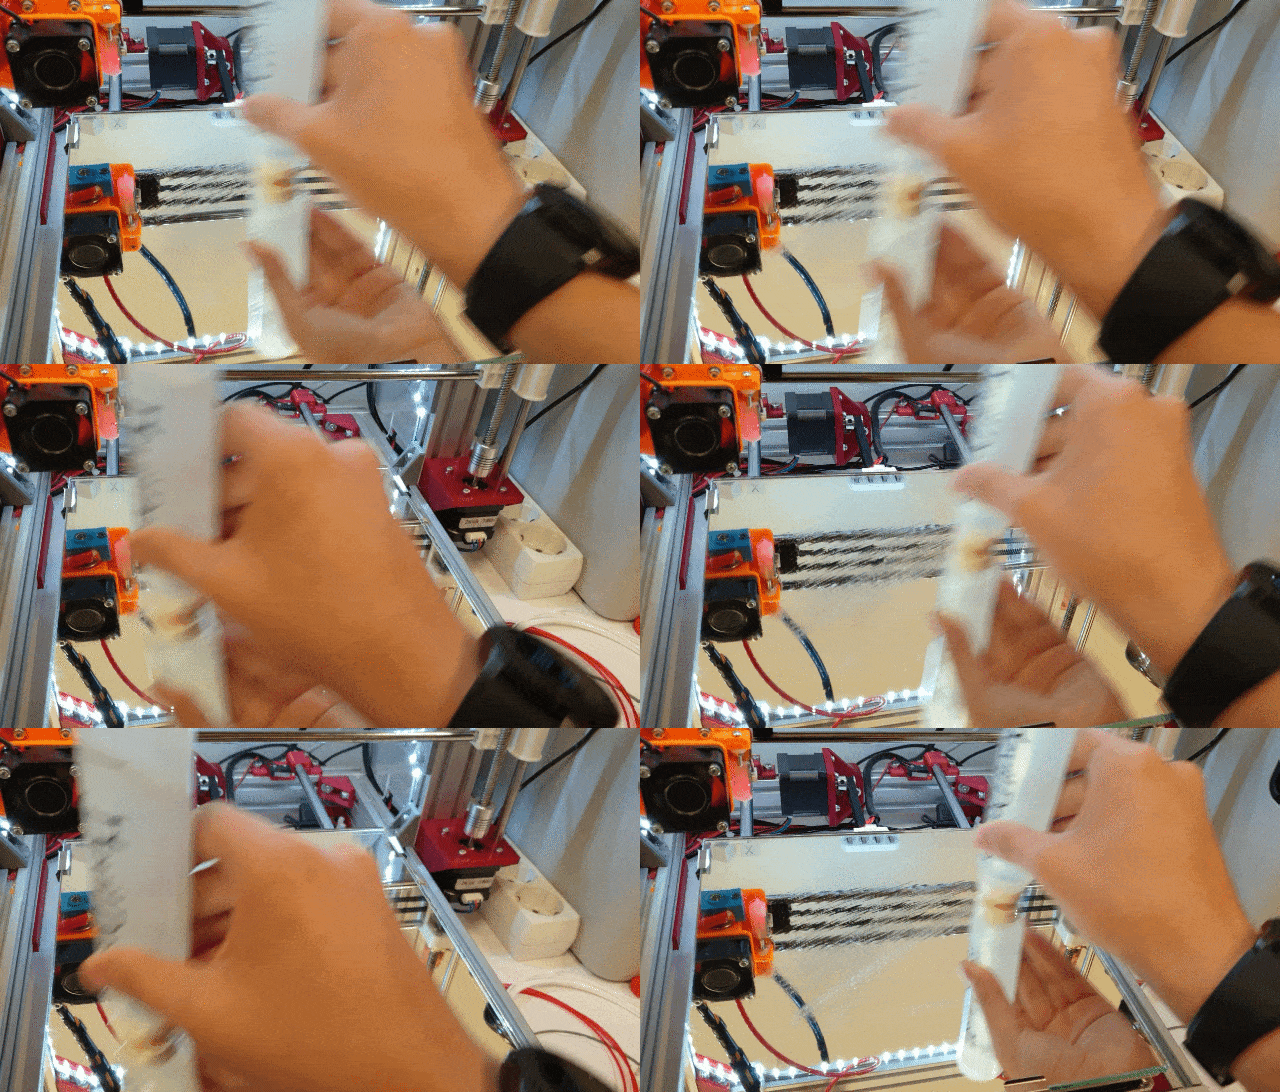
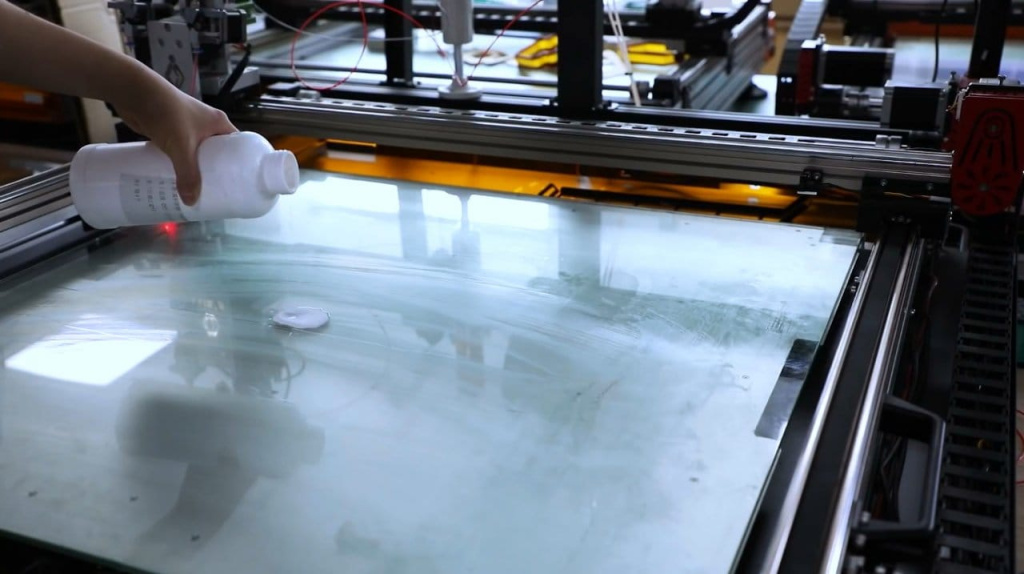
Next, I apply the adhesive in a thin layer to the surface of the print bed.
I set the heater temperature to 60°C and wait for the adhesive to evaporate. When the bed reaches the printing temperature, your surface will look like this:
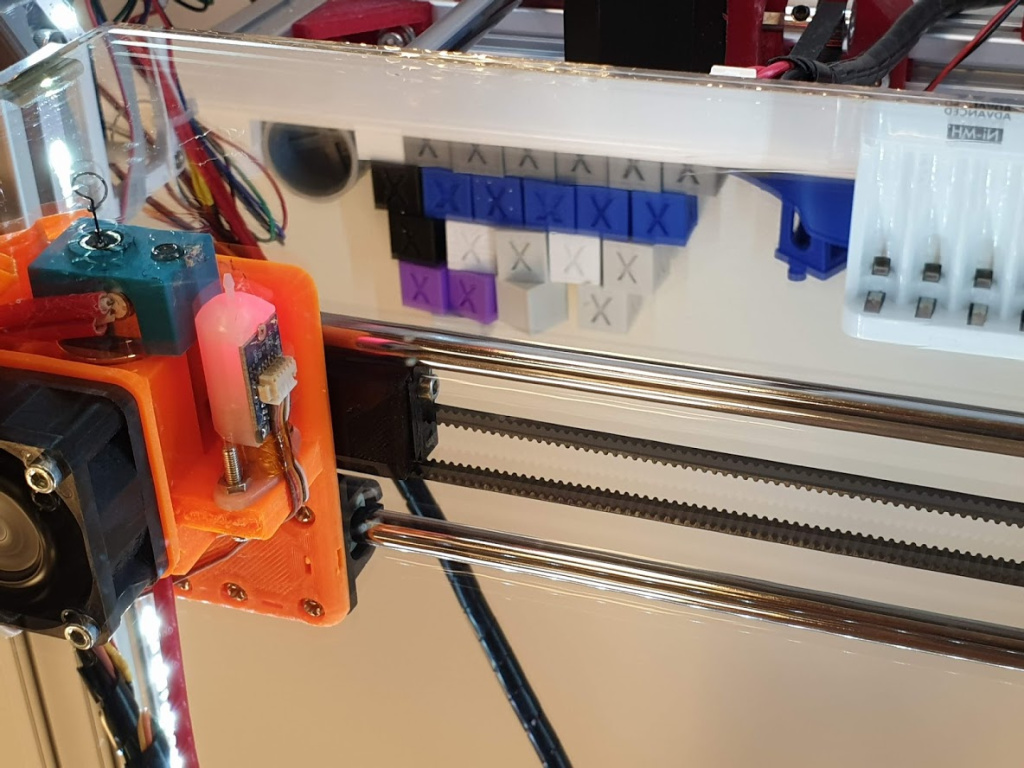
Now I can start printing without worrying about poor adhesion causing print failures.
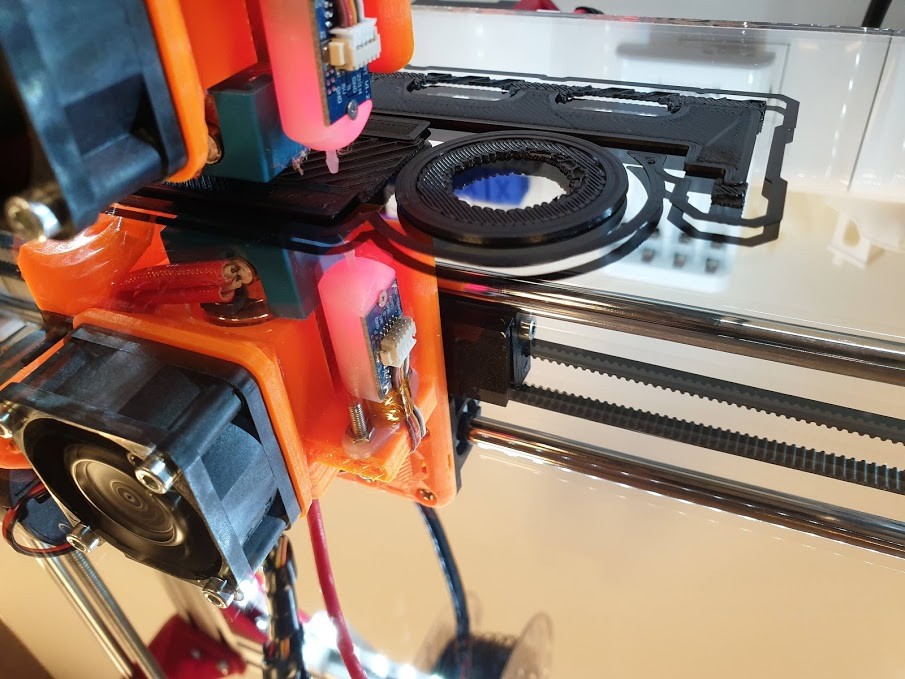
When the print is finished, wait 5 to 10 minutes for the platform to cool down, and then remove the model after it has cooled. You’ll notice that the model comes off quite easily, and you'll forget about the scraper you used in the past. Cleaning the adhesive coating is also straightforward. After several printing sessions, I simply remove the glass and wash it with dish soap in the sink.
Here’s what the bottom of the finished model looks like:
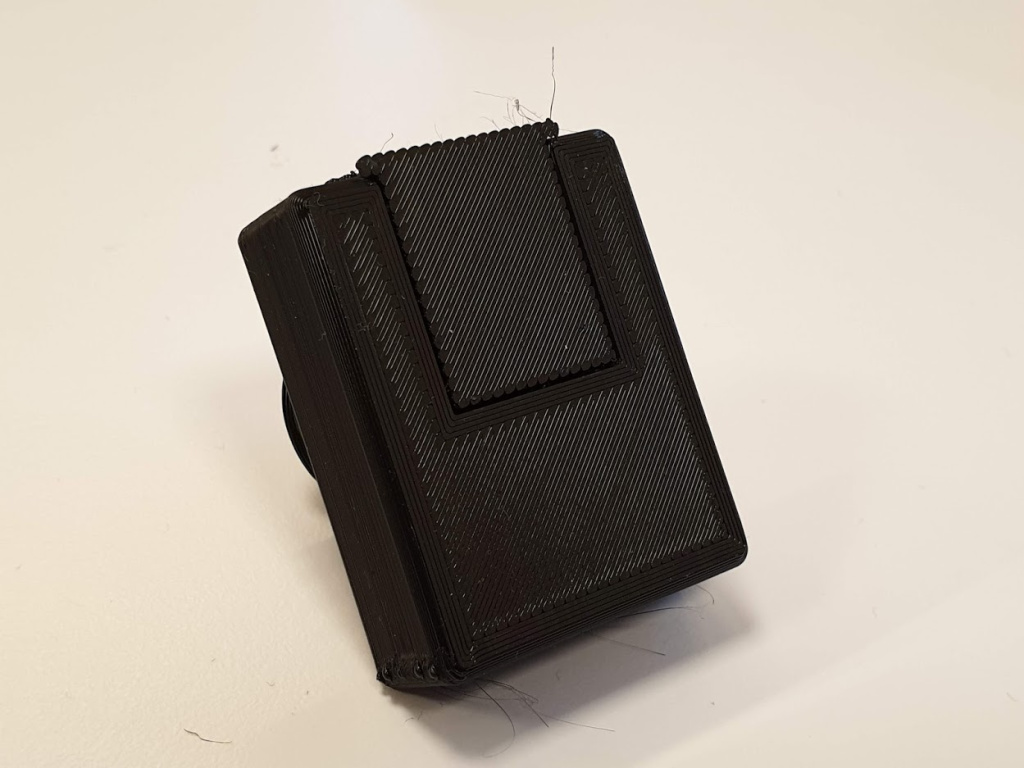
ABS Juice
Devil Design's adhesive isn't the only effective solution for addressing adhesion issues. If, for any reason, you don't prefer or can't use specialized adhesives, there are practical methods to create a sticky layer on the print bed.
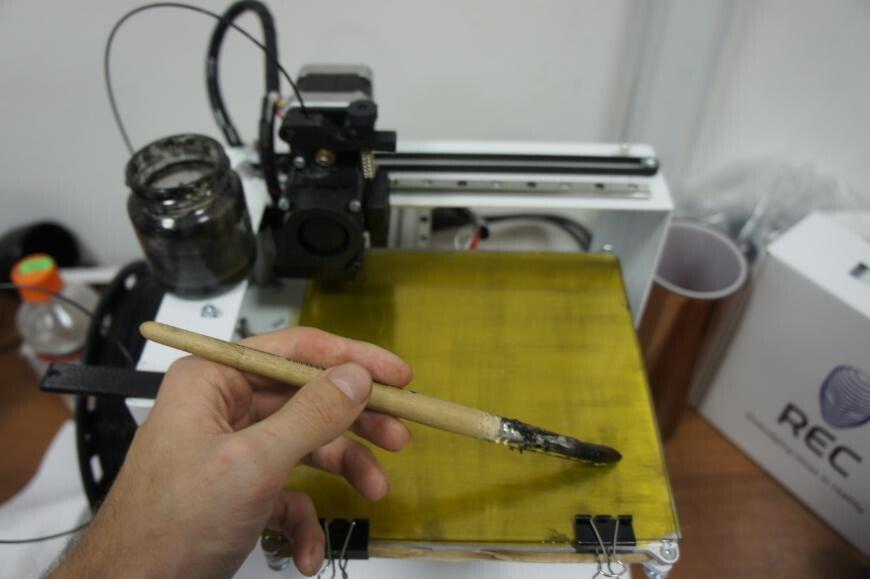
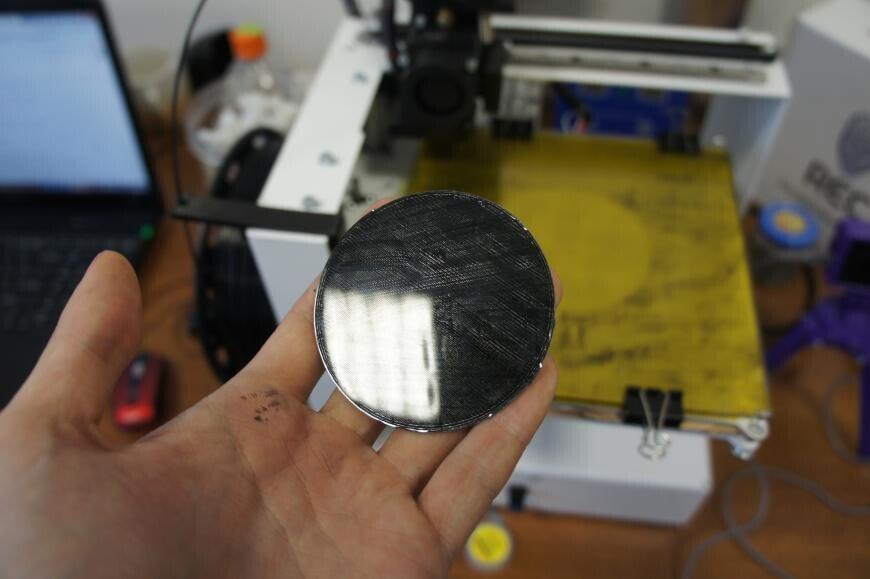
I recommend trying ABS juice—finely chopped ABS filament or leftovers from a previous print can be submerged in acetone. After a couple of hours, you'll get a thick solution that can be applied with a brush to the unheated platform. This method is quite reliable; however, 3DTrade strongly advises using it only in a well-ventilated area while wearing a respirator and safety goggles (acetone releases toxic fumes, especially when heated, and can be harmful to your health).
Enclosed 3D Printer Chamber
If you're printing with high-shrinkage plastics, one of the best options is to use a 3D printer with an enclosed chamber. This solution eliminates draft issues (which is difficult to achieve with natural ventilation in a workshop) and helps maintain a consistent temperature inside the chamber, preventing models from cooling too quickly. Printing in an enclosed chamber at a stable temperature enhances adhesion and reduces warping.
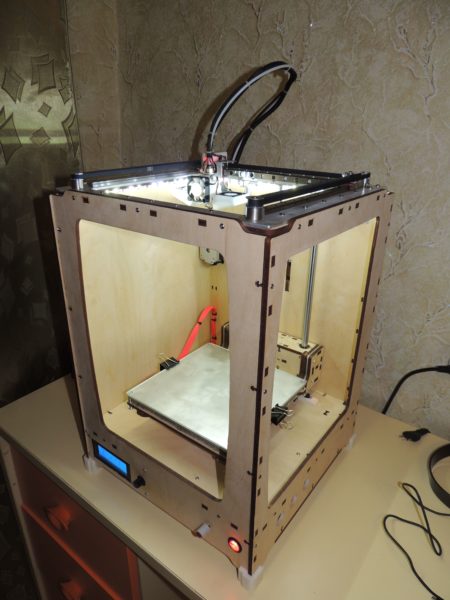
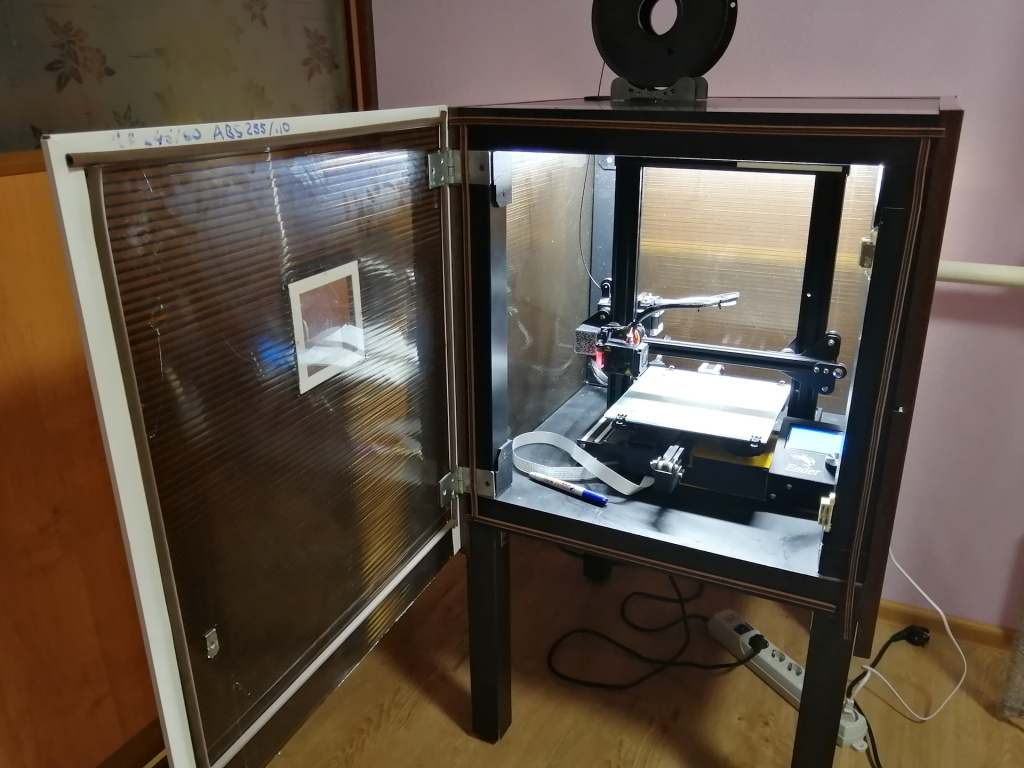
For users who already have an open-frame 3D printer, there are many ways to add walls and insulate the work area. 3D printing enthusiasts use everything from boxes that cover the printer to special acrylic walls that can serve as either a temporary or permanent solution.
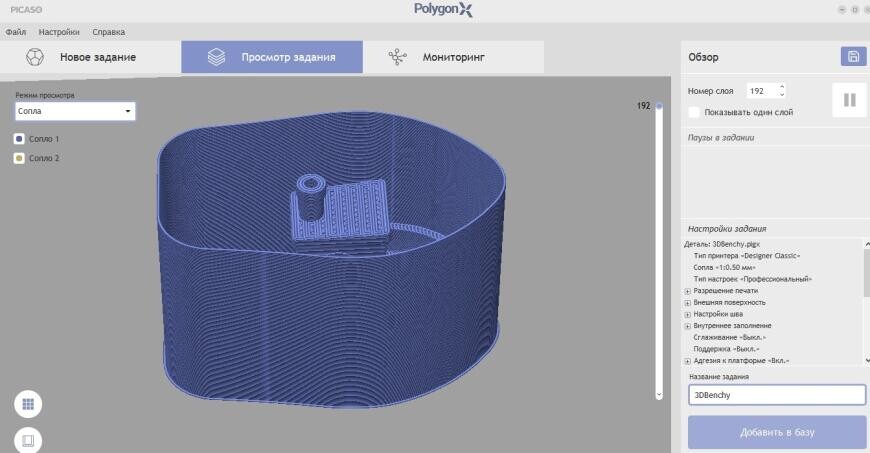
Some users also employ a method of building walls in the slicer (printing special walls) around the model, which helps retain heat but increases material consumption and print time.
Solving First Layer Adhesion Problems Through Printer Calibration
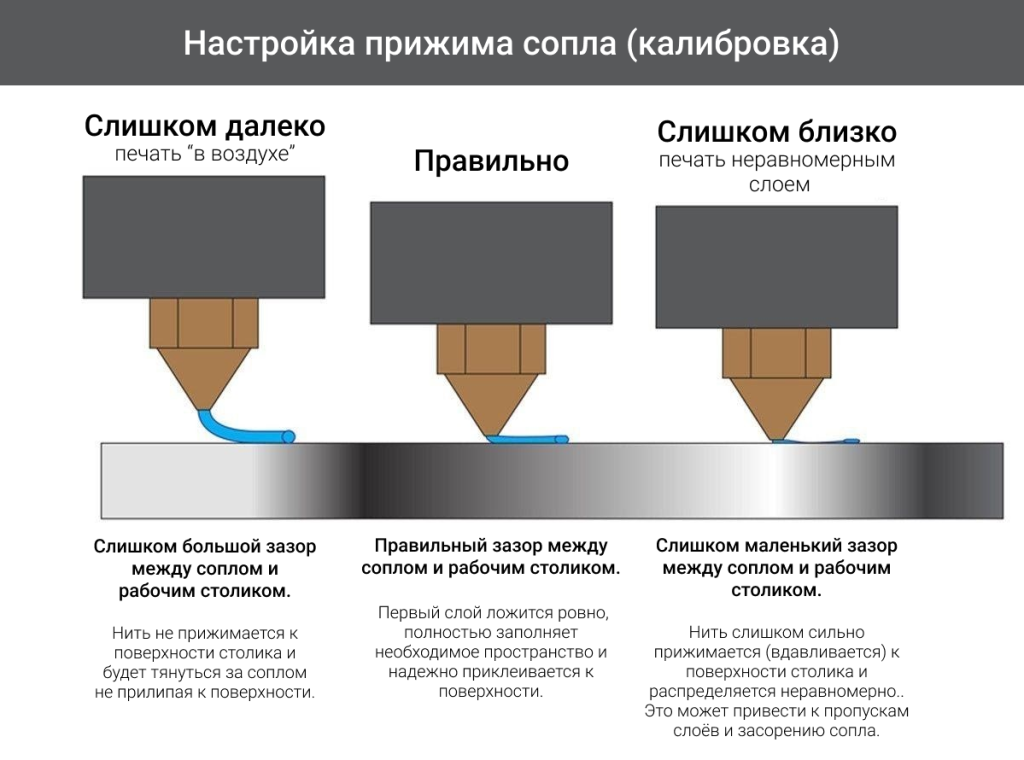
Often, if the first layer of the model is not laid down evenly, the chances of the entire print being flawed are very high. Therefore, it is crucial to pay attention to the adhesion of the first layer. Improper adhesion can be caused by incorrect printer calibration and an unsuitable distance between the nozzle and the print surface. Here’s how to determine if the platform is incorrectly calibrated:

Brim and Raft
I also recommend trying the method of adding a Raft or Brim—additional flat supports that increase the adhesion area between the first layers of the model and the print platform. These can be added in the slicer when preparing the model for printing.
Raft: A raft is a substrate made up of several layers of a horizontal grid of filament located underneath the model. It is used to enhance adhesion levels or compensate for unevenness in the print bed, as the raft levels out any irregularities. Additionally, a raft eliminates the issue of uneven first layer deposition caused by an incorrect distance between the nozzle and the platform, which was mentioned earlier.
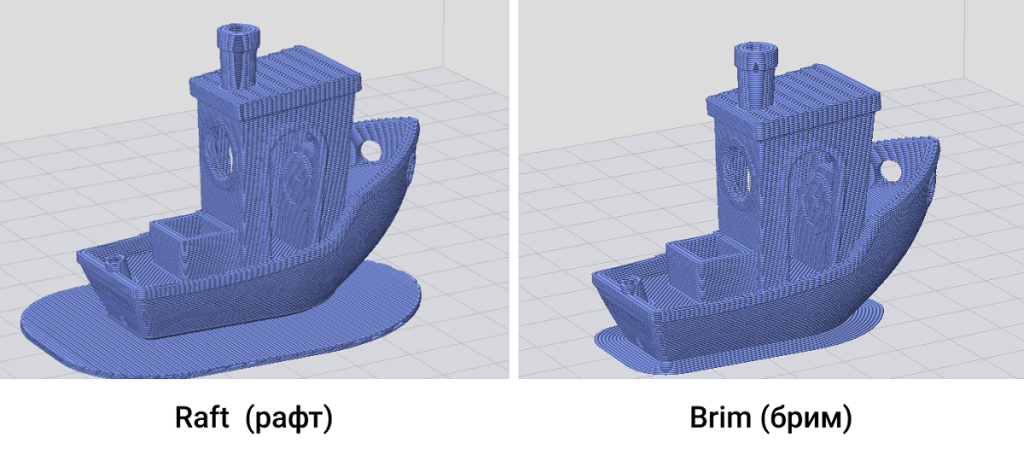
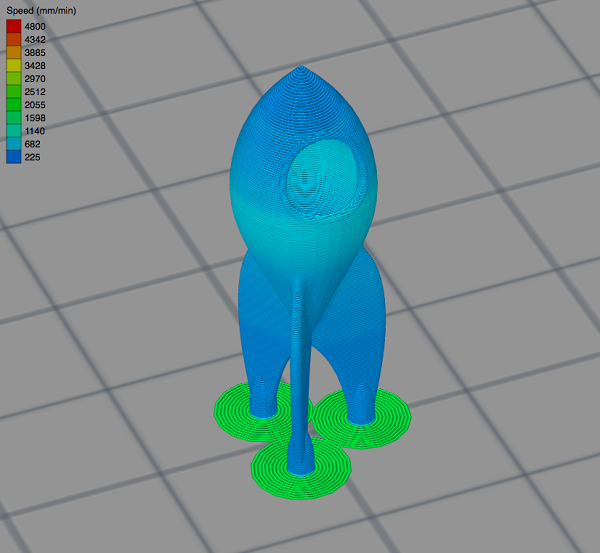
Brim: A brim consists of one or more concentric rings of filament that surround the base of the model. Unlike a raft, a brim does not create a base under the model but extends outward from the edges, increasing the surface area in contact with the print bed. This can help prevent warping and improve adhesion, especially for models with small footprints.
Proper Selection of Print Bed Temperature
Another possible reason for poor adhesion is incorrect selection of the print bed temperature, which should vary depending on the type of plastic used. During extrusion, thermal deformation of the filament occurs on the print bed. If the print bed temperature is set incorrectly, the outer edges of the model will curl and lift, detaching from the bed, which can ruin the entire print. Pay close attention to the bed temperature settings:
ABS 100-110°C
PLA 60°C
PET-G 85°C
PC 110°C and above
Nylon 100°C
Filament manufacturers often indicate the recommended temperature range on the packaging, and it’s important to follow these guidelines. The correct temperature for using different types of plastic from various manufacturers can vary significantly.
Painter's Tape and Kapton Tape
If you are using a printer without a heated bed, you can use painter's tape—carefully applying it over the entire surface of the bed. This can allow for good printing of small models. However, keep in mind that if the tape starts to peel at the edges, the corners of the model may deform, and you should monitor this closely.
Using painter's tape or Kapton tape can help improve adhesion when printing with materials that do not require high bed temperatures, providing an alternative solution for achieving better results in your prints.
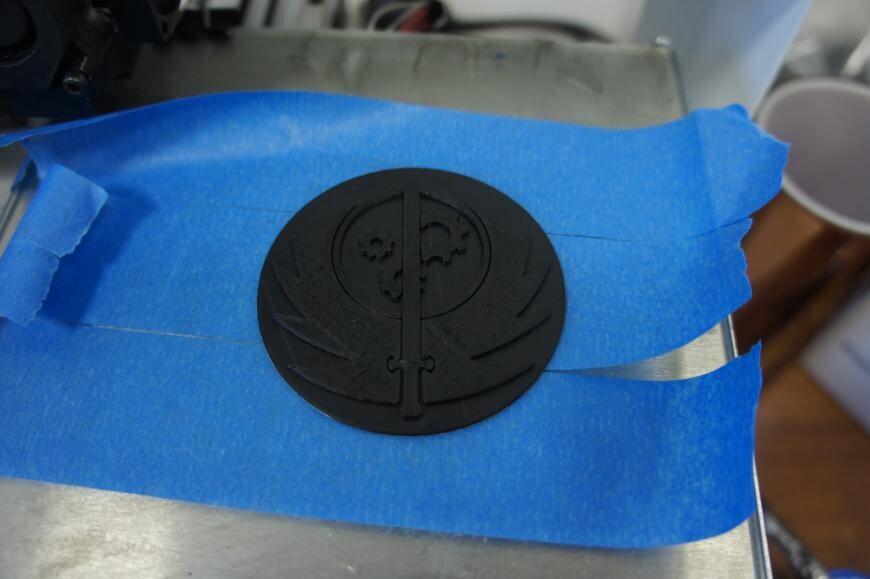
In this regard, Kapton tape is much more convenient—it works on the same principle but can also be applied with a heated bed (in fact, heating is mandatory in this case). As a result, you'll achieve a smooth bottom surface on the model that detaches well from the bed after cooling. However, I do not recommend leaving models on the cooling bed for too long, as the plastic can pull at the tape, leading to the formation of air bubbles underneath.
For successful printing on Kapton tape, I recommend additionally applying a layer of PVP/PVA glue to the surface. This can enhance adhesion and help prevent any issues during the printing process.
Using Office Glue
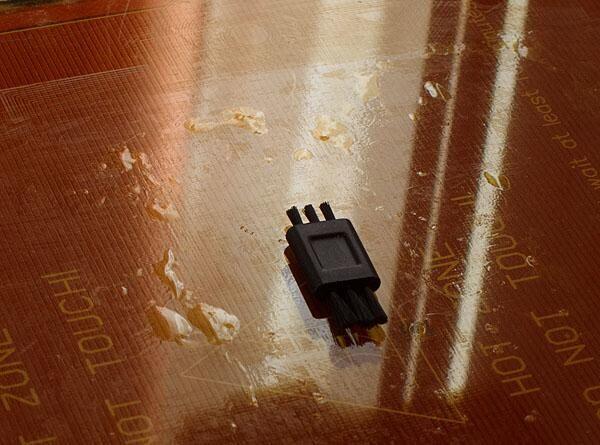
In addition to specialized adhesion aids, 3D printing enthusiasts often use PVA office glue in liquid form or as a glue stick (PVA/PVP). The glue is applied in a thin, even layer on the print bed, and it’s essential to wait for it to dry before starting the print. However, it’s important to remember that glue from different manufacturers can vary in properties, so you may need to choose the right one through practical trial and error.
Models are typically easy to remove from the print bed after printing is complete, and the print bed itself is relatively simple to clean. This method can provide a reliable solution for improving adhesion without the need for specialized products.
I hope this article has been helpful to you. Remember that there is no one-size-fits-all solution, and it all depends on your preferences. Please share in the comments how you improve adhesion in your prints.
Good luck with your printing!
- Комментарии